Transform Your Tech: The Ultimate Guide to Applying a Mobile Skin
Transform Your Tech: The Ultimate Guide to Applying a Mobile Skin
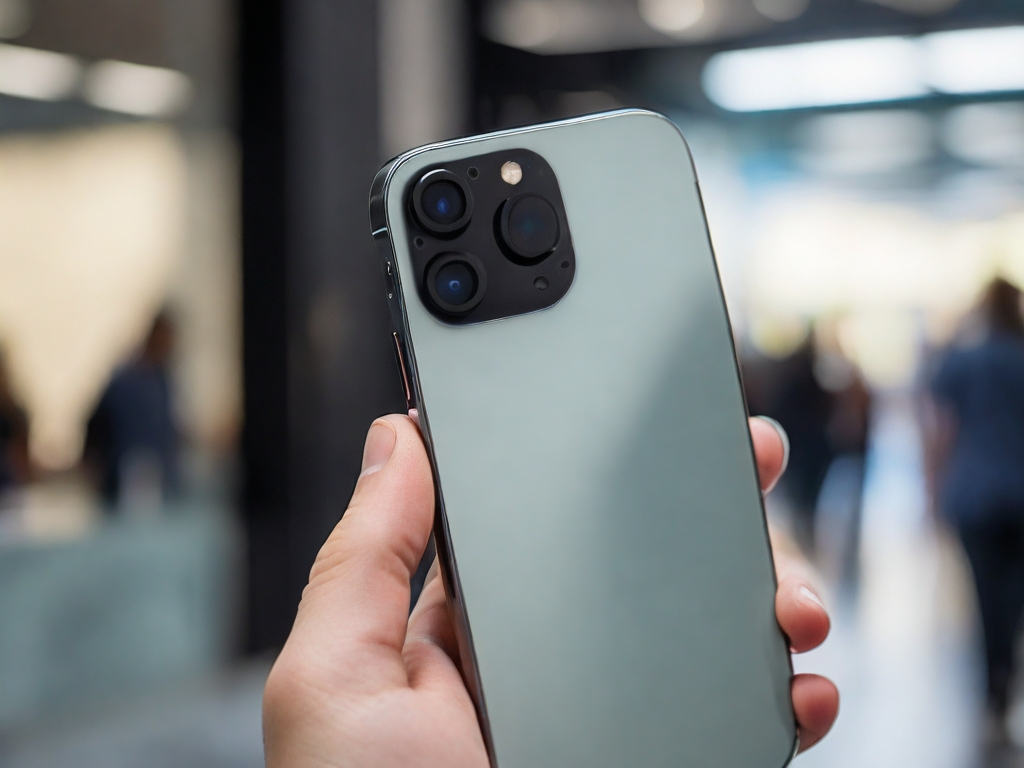
Mobile skins are a fantastic way to safeguard and personalize your device. They offer a dual advantage of protection and customization, keeping your phone safe from scratches and adding a touch of personality. There are various types available, from full wraps to pre-cut pieces, catering to different preferences and device models.
Whether you're looking for a sleek, all-encompassing cover or prefer applying individual sections, mobile skins provide a simple, DIY solution for a refreshed, safeguarded phone. Applying mobile skins might seem challenging for some, but worry not – we're here to make the process seamless and straightforward.
With our step-by-step guide, you'll be able to effortlessly apply the mobile skin in just a few minutes. So, let's dive into the installation process and get started on giving your phone a fresh and stylish new look!
Get Ready the Tools
Preparation is key when it comes to giving your mobile a fresh new look with a mobile skin. Before diving into the installation process, ensure you have the necessary tools to achieve a seamless and professional result.
Get Ready: Tools and Materials
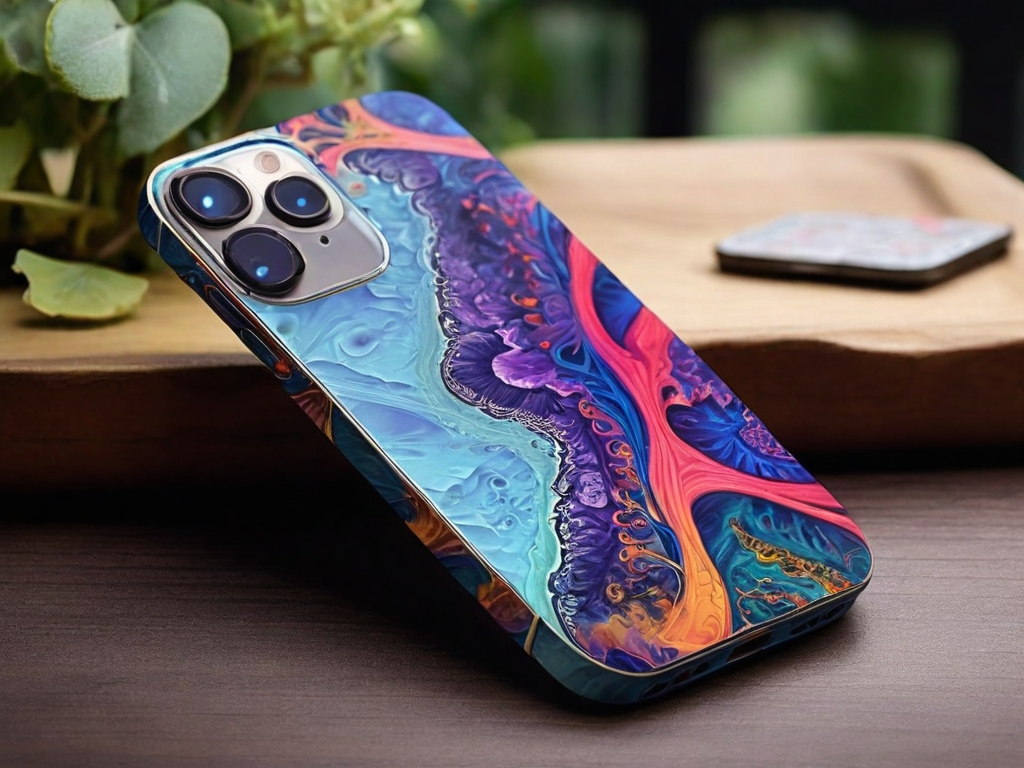
1. Mobile Skin: Choose high-quality skin compatible with your device model. Ensure it includes pieces for the front, back, and sides if necessary.
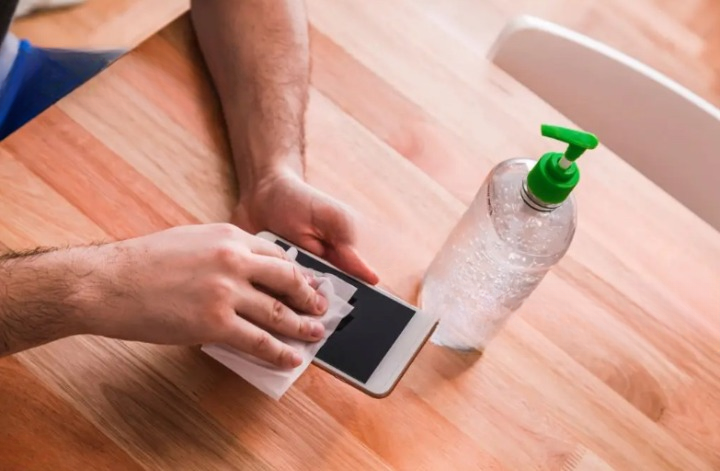
2. Cleaning Wipes: Opt for alcohol-based wipes or a microfiber cloth to thoroughly clean the surface of your device. A clean surface is crucial for proper adhesion.
3. Hairdryer (Optional): A Hairdryer can aid in the installation process by helping to soften the skin material, making it more flexible and easier to adjust during application.
4. Squeegee (Optional): While not mandatory, a squeegee or a smooth, flat-edged object can assist in removing air bubbles and ensuring a smooth, even application of the skin.
Importance of a Clean Mobile Surface
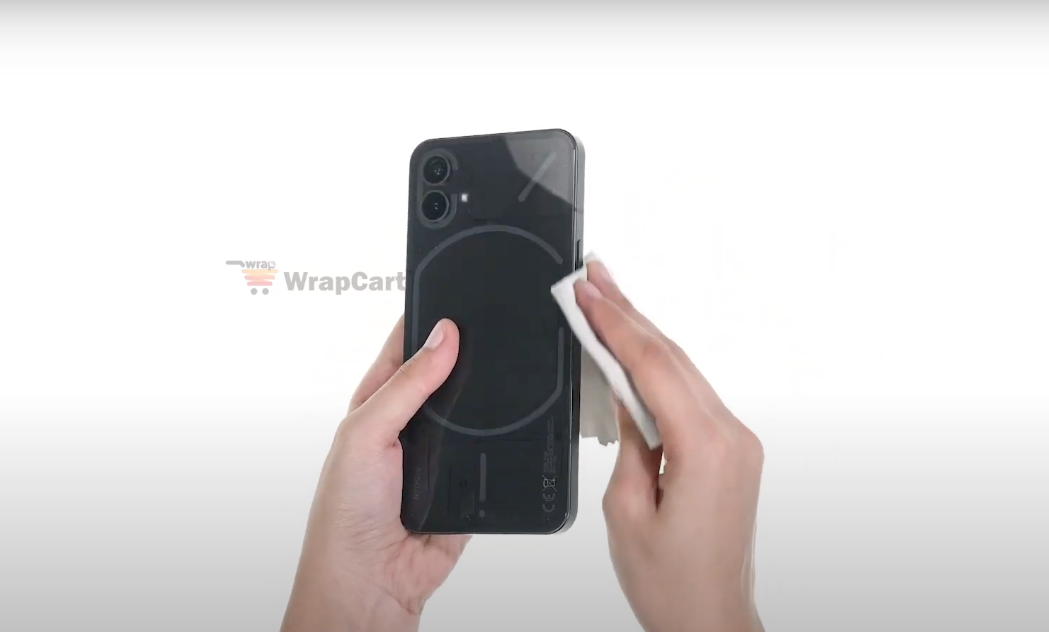
A clean surface is the foundation for a successful mobile skin installation. Any dust, oils, or debris on your mobile can hinder the skin's adhesive and result in a less-than-perfect finish. Take extra care to clean and prepare your device:
-
Power off your mobile and remove any existing cases or screen protectors.
-
Use cleaning wipes or a microfiber cloth with gentle, or alcohol-based solutions to wipe down the device. Ensure no residue remains on the mobile
Process of Applying the Mobile Skin
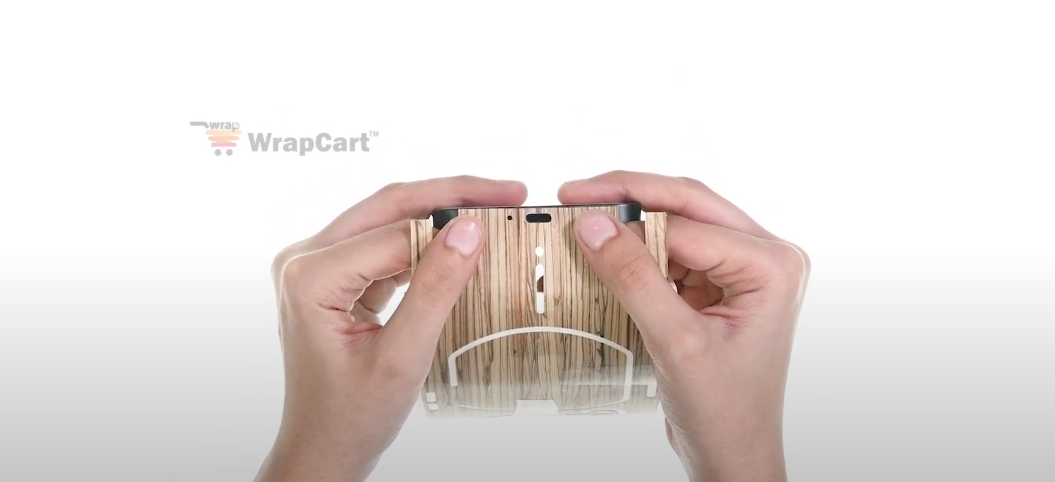
Aligning the Skin with Device Edges
1. Start by aligning the skin with the edges of your device.
Take your time to position it accurately, and be patient while ensuring proper alignment with buttons, ports, and curves.
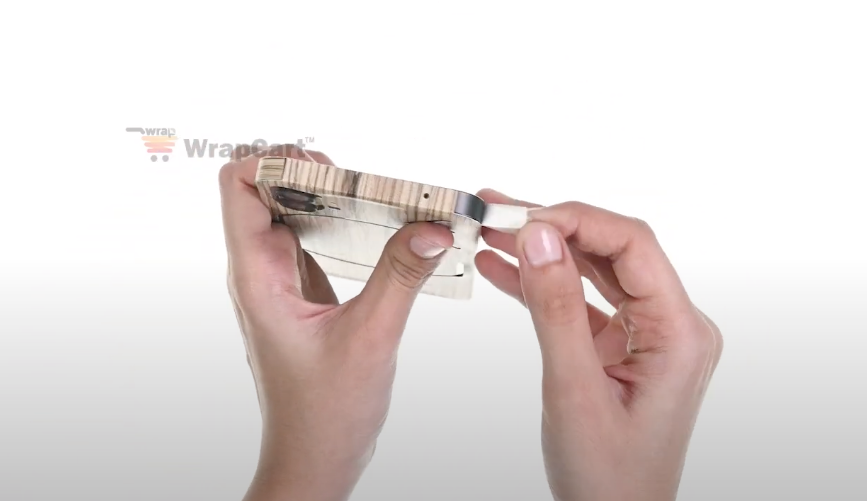
2. Peeling Away the Backing Gradually and Applying Smoothly
Gradually peel away the backing while applying the skin smoothly onto the mobile. Use your fingers to press and stick the skin, moving from one edge to another.
3. Use the Squeegee/Card (Optional) to Remove Air Bubbles
If air bubbles appear during application, gently press them out towards the edges using a squeegee or a flat-edged object. Work slowly to prevent creases or wrinkles.
4. Applying Heat from the Hairdryer (Optional) for Better Adhesion on Curves
If your device has curved edges, using a hairdryer on low heat can help the skin flex better, which helps in easy installations of the Mobile Skin. Apply Gentle Heat While Smoothing the Skin to Enhance Adhesion
Pre-cut Pieces Installation:
1. Aligning and Applying Each Piece Individually
Start by aligning and applying each pre-cut piece individually. Match the pieces accurately with the corresponding areas on your device.
2. Smoothing Out Any Edges or Seams
Once all pieces are in place, smooth out any edges or seams using your fingers. Ensure a tight fit and press firmly to secure the skin onto the device.
Troubleshooting Common Issues in the Application:
Air Bubbles:
To remove air bubbles, gently lift the affected area and reapply, pressing out the bubbles using a squeegee or your fingers. If bubbles persist, use a pin to carefully prick the bubble and press out the air gently.
Wrinkles or Misalignment:
If wrinkles occur, carefully lift the skin and reapply, ensuring a smoother alignment.
For misaligned pieces, gently peel back and realign before firmly pressing down.
Excess Material:
If the skin has excess material, trim it using sharp, precision scissors for a neater finish.
Remember, patience is key throughout the installation process. Take your time, especially when aligning the skin and smoothing out any imperfections. With attention to detail and following these step-by-step instructions, you'll achieve a flawless application of your mobile skin.
Allowing Proper Adhesive Curing Time
Patience is key for optimal adhesion and longevity of your mobile skin. While the skin may seem secure upon initial application, it's recommended to allow a few hours for the adhesive to fully set:
Avoid excessive handling or exposure to external elements during this curing period. This allows the adhesive to bond securely with your device's surface.
Tips for Prolonging Mobile Skin Life
To maintain the pristine appearance and durability of your newly applied skin, consider these optional but helpful tips:
1. Avoid Heat Exposure: Prolonged exposure to extreme heat, like direct sunlight or hot surfaces, can compromise the adhesive. Protect your device from excessive heat to preserve the skin's integrity.
2. Clean with Care: Use a damp, soft cloth for routine cleaning. Avoid harsh chemicals or abrasive materials that may damage or weaken the skin's surface.
3. Handle with Caution: While mobile skins offer additional protection, they are not indestructible. Handle your device with care to prevent scratches or damage to the skin.
Conclusion
To Wrapcart up, installing a mobile skin can be a straightforward process, offering numerous advantages for device customization and protection. By following the step-by-step instructions and taking the time for proper preparation and application, you can achieve a seamless, professional-looking finish that enhances both the appearance and durability of your mobile device.
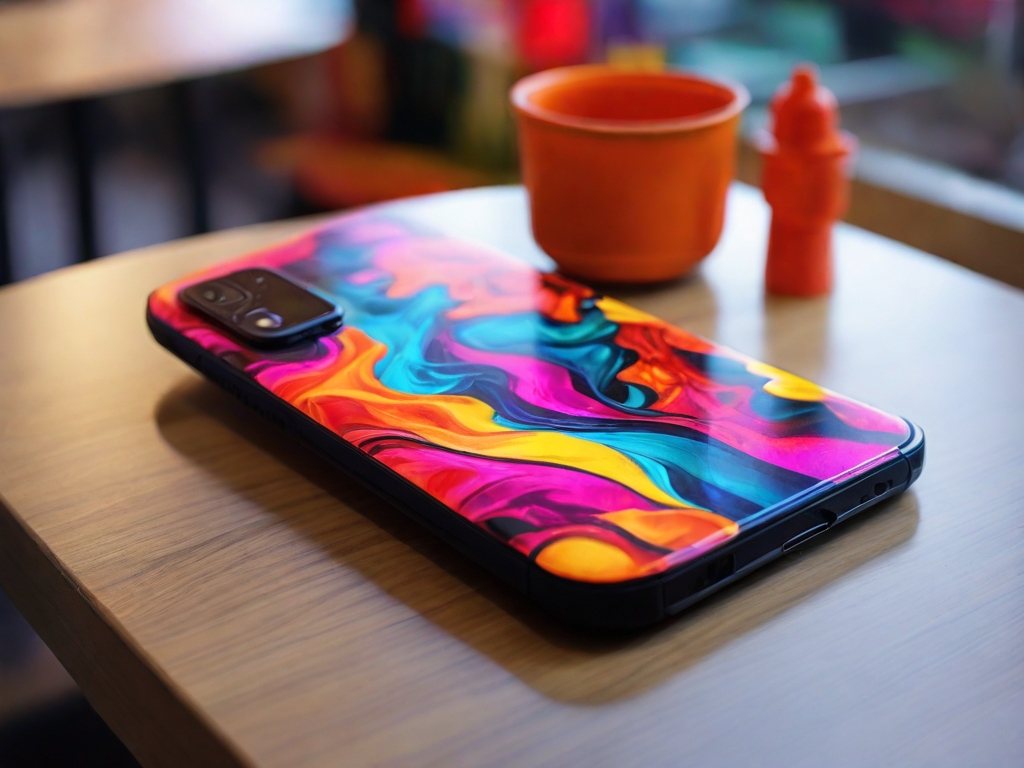
Also, don't hesitate to explore various skin designs and personalize your device according to your style and preferences. It's an exciting way to give your mobile a fresh, unique look while safeguarding it from everyday wear and tear.